Virtual Active Directory Environment
Overview:
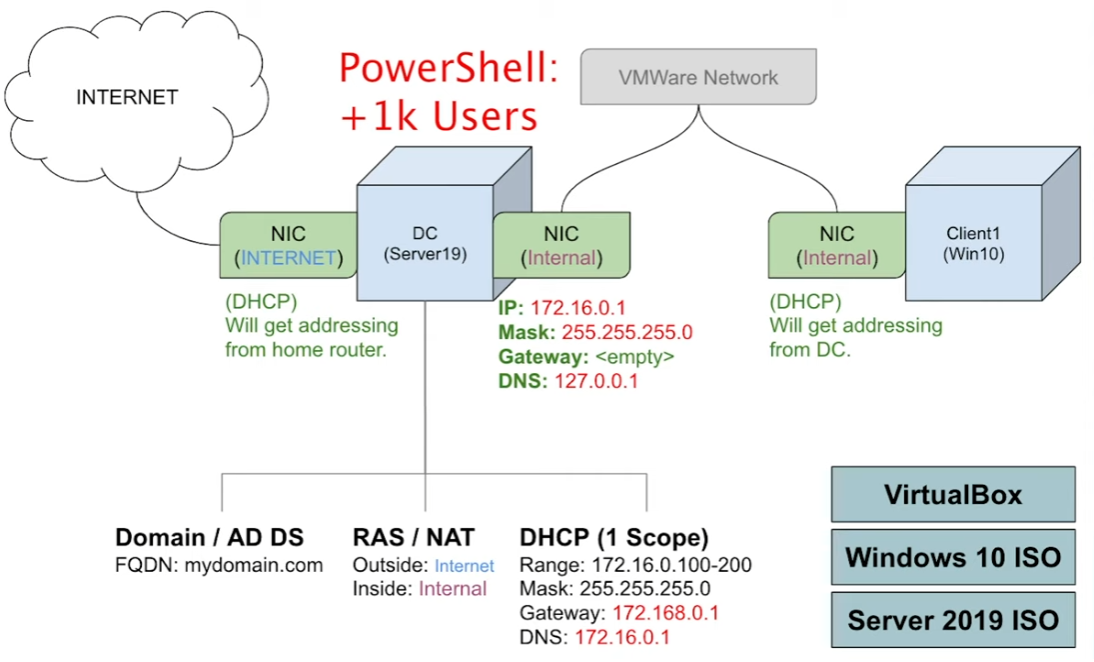
In this lab I will be downloading and installing VirtualBox. Then download and install a windows iso with 2019 ISO. Next, create a VM -> contains a domain controller, which houses active directory. Virtual Machine will be given two network adapters, one to connect to outside internet, and another one to connect to VirtualBox private network. Next install server 2019 which assigns IP addressing for internal network/ After IP addressing is set up, name the server and install active directory and create domain. Then configure NAT and routing so clients on the internal network can reach internet through internet controller. Then set up DHCP on DC so that when Windows 10 is created it automatically gets an IP address. Next run a PowerShell script that automatically creates over 1000 users in active directory. After creating users, create another virtual machine with Windows 10 on it. That virtual machine is connected to the private VirtualBox network. That machine will be named client1 and join it to the domain, then log into it through the domain controller.
Understanding:
Get a better understanding of environment in network as it relates to school, the office, etc., where you can take the same username and log into a bunch of different computers without doing anything
Install:
VirtualBox was downloaded here along with the extension pack. After VirtualBox is installed, download Windows 10 ISO. I used the media creating tool, and followed the prompts to create an ISO file.
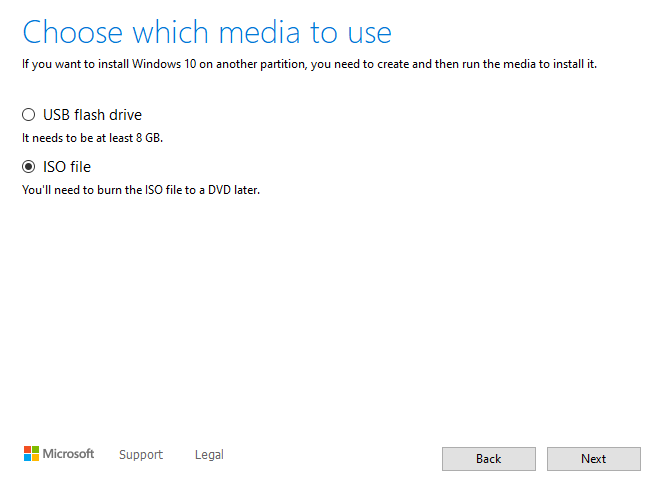
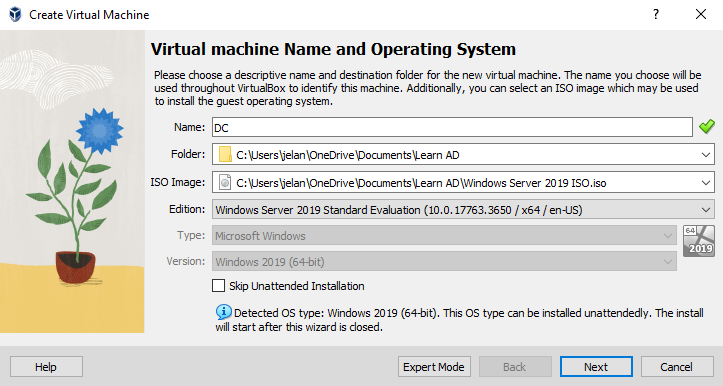
Then I downloaded Windows Server 2019, and downloaded the 64 bit edition ISO.
In VirtualBox I setup the domain controller by clicking New -> Naming my 2019 Server ISO, DC.
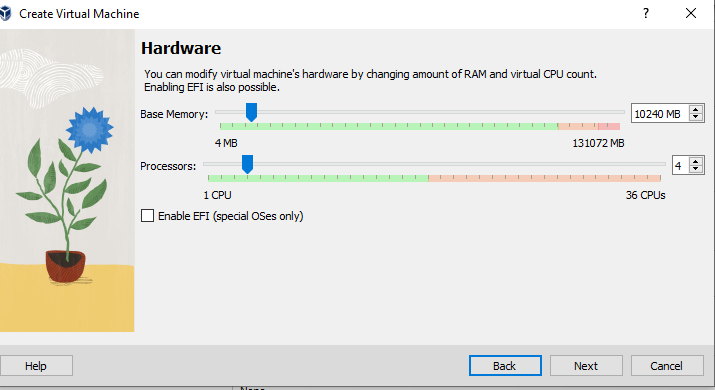
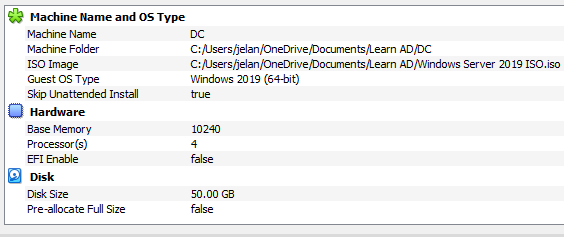
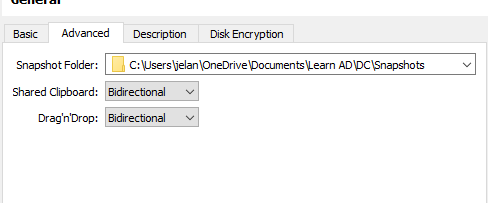
Next, I clicked on Settings to change a couple of things. I went to advanced and made Shared Clipboard and Drag and Drop Bidirectional, so that I can copy and paste between my desktop and the server
Then I switched over to the Network tab. According to the diagram, we want two NICs. One dedicated for the internet, that will be running NAT and then one dedicated for the internal VM network. Our first adapter is NAT by default. I went to adapter 2 and added the internal network


The domain controller is now ready to be started.

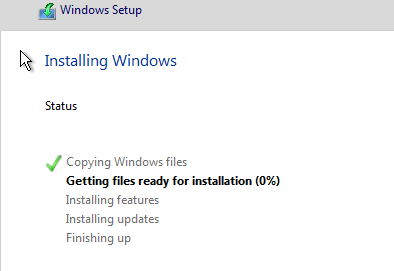
I chose custom install, chose drive 0 and started installing Windows
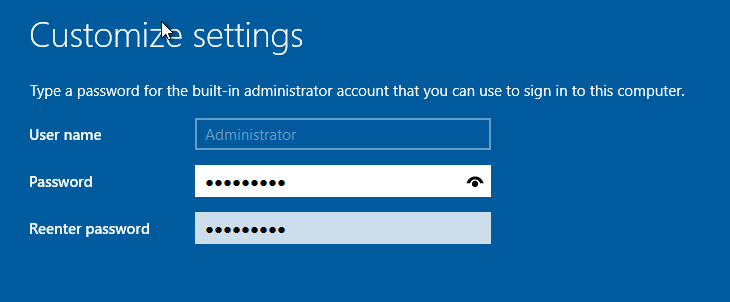
For the administrator password I chose password1 for this example for simplicity. Obviously this isn't best practice and I will be frequently adding and changing things in this lab as I use it to study for my OSCP and beyond.
Windows asks me to input Ctrl + Alt + Delete, but is an issue since we are on a VM. To work around this, you go to View > Keyboard > Insert Ctrl + Alt + Delete
The very first thing to do is install Guest Additions by clicking Devices > "Insert Guest Addition then going to the folder, double clicking, then run amdx64, click through all the prompts then restart Virtual Machine
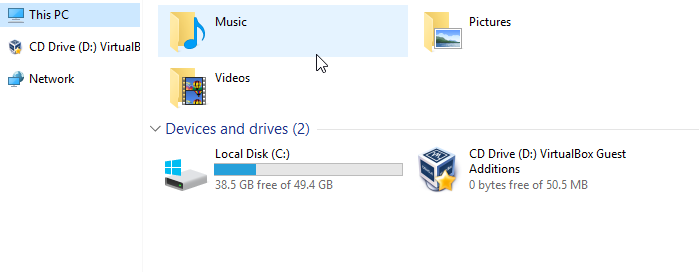
Next Step is to set up our IP Addressing. According to the diagram, there are two NICS. One for the internet and one for the internal. The internal has to be setup manually. Once the VM is restarted go to the network and intern > network connections

Go to Status Details to confirm which one is internal. If the autoconfiguration is 169, then it is automatically assigned. That’s how we know that it is internal


Next step is to rename the PC. Right click menu > System > Then Remain PC from something arbitrary to DC

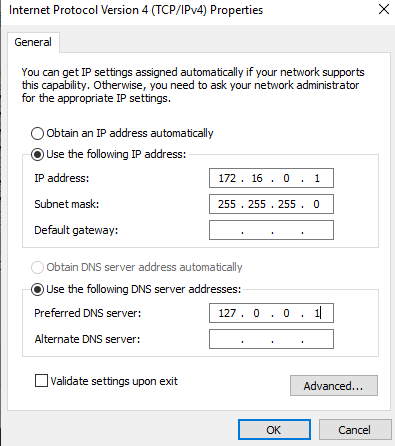
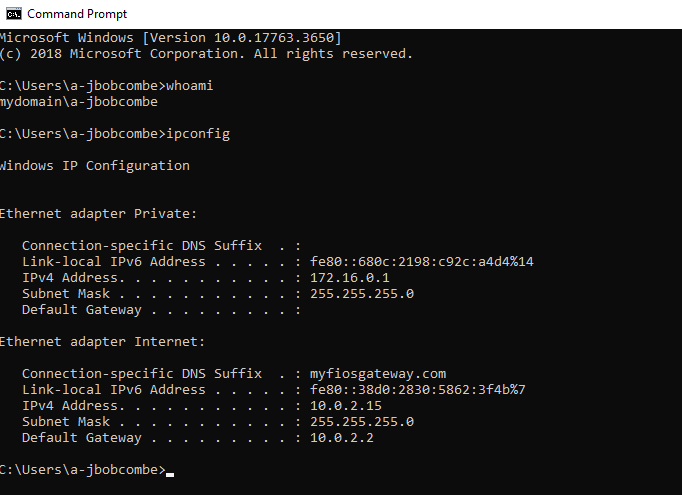
The next step is to give an IP address, before restarting. Click on Network, go to the Private, go to properties, and change IPv4. Assign IPv4 address to internal to 172.16.0.1 and Subnet Mask to 255.255.255.0. There will be no default gateway since domain controller itself is serving as the internal gateway. For DNS server it automatically installs DNS.
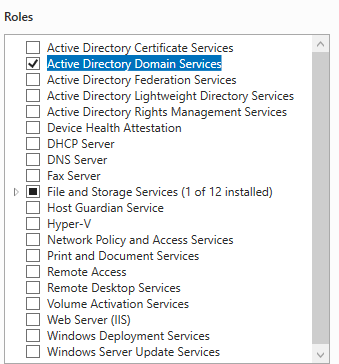
The next step is to install Active Directory Domain Services and create a Domain. Go to Server Manager and add roles and features, Next, Next, and then pick the server that you want to install AD to.

After the role is installed click the yellow flag at the top right to deploy post deployment configuration. This will allow us to promote the computer to a Domain. For this example this domain has been changed to mydomain.com

Click next on the following prompts and Install. Next step is to create a dedicated domain admin account instead of using the built in account. Go to active directory users and computers from Windows, go to mydomain, and new. Create a new Organization Unit. An OU is basically a folder in active directory
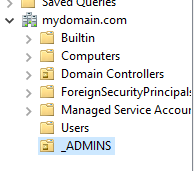
Inside of admins, create a new user. The common naming convention can be first letter of first name and last name

Confirm password, and you will see an account, although its not an admin even though its named that way. Go to properties, go to members of, and add it to Domain Admins. Apply and now we have out own domain admin account.
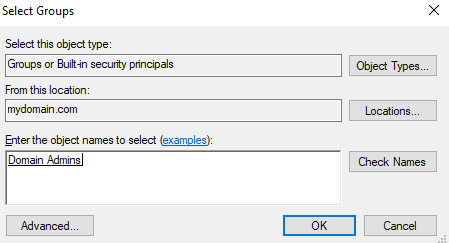
To use this, log out, and log in. Instead of logging into the administrator, login to other user and log into the domain admin account.
The next thing to do is to install RAS / NAT. The purpose of this is to allow the created client to be on the private network but still be able to access the internet through the domain controller. In order to do this, go to add roles and features. For roles, add Remote Access and install Routing.


Then go to Tools > Routing and Remote Access > DC Local > Right Click >Configure and Enable Routing and Remote Access. Install NAT to allow Internal clients to connect to the Internet using one public IP Address.

Then use the one named Internet to connect to Internet, and click next then finish.

Now windows 10 Clients can connect to internet. The next step is to set up DHCP Server. What this does is allow Windows 10 clients to get an address and then connect to the internet. Go to add roles > next > and select DHCP Server. Go to Tools > DHCP and set up our scope.
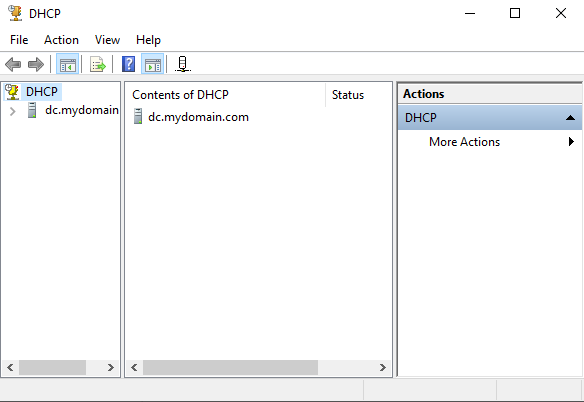
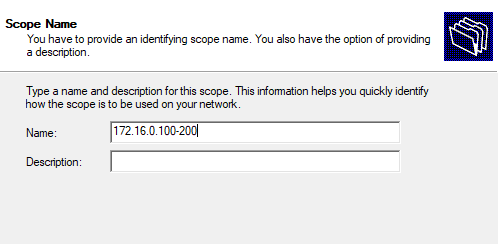
Click on IPv4, right click, new scope. I named the scope after the IP range.
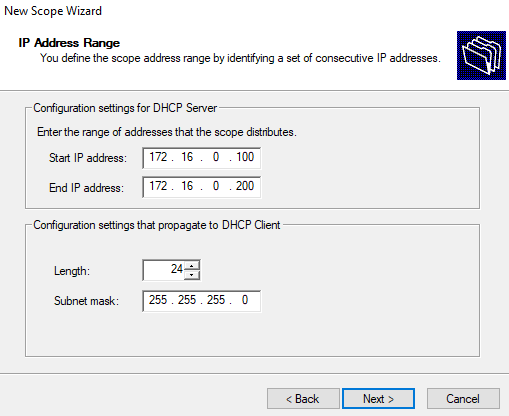
The user duration is set for use case. If you have an internet café then you don’t want an internet café with a default of 8 days, might want to change it to 2 hours instead of 8 days. 8 days is good for the lab. Yes to configure. NAT is configured on the Domain Controller so that’s what we want the clients to use. The IP address will be 172.16.0.1.
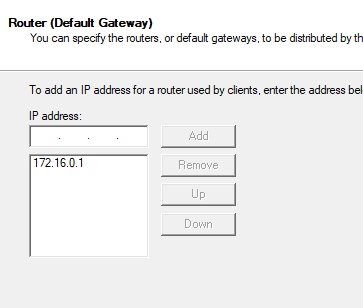
The domain controller needs to be used as DNS server. Right click dc.mydomain.com to authorize then refresh. Next step is to make a configuration to browse the internet. Usually you don't want to do this in a production environment. We will be disabling internet explorer enhanced security.
Go to Server Manager > Local Server

I downloaded the script in PowerShell to load tons of users to simulate employees in an organization

So this script includes a names.txt which has 1000 randomized names. At the top add your own name

Next, open Windows PowerShell ISE as an administrator.
Open the PowerShell script. _CREATE_USERS.ps1
Before anything is ran you have to enable the execution of all scripts. To get around this, set execution policy to unrestricted.

An Overview of the script:
- At the top, all users are using the same password of Password1
- The GetContent with the names.txt essentially means that it is taking all the names and copying and pasting them into the variable as an array
- The password = variable takes the plain password and creates it into an object so PowerShell can use it as a secure password
- The NEW-ADOrganizationalUnit line creates another OU with _Users instead of _ADMINS
- The for each takes users first and last list takes the users and the code runs for each individual user
- First splits the line from the space and takes element 0 in first name
- Last splits the line from the space and takes element 1 in last name
- Username takes substring -> first letter of first name and glue it to last name in lowercase
- Line 13: Outputs to screen in Cyan basically creating an alert that a user is being creating
- Line 15 to 24 creates the new user in active directory
Go to the actual directory where the script is at (I saved to my desktop) and run the script

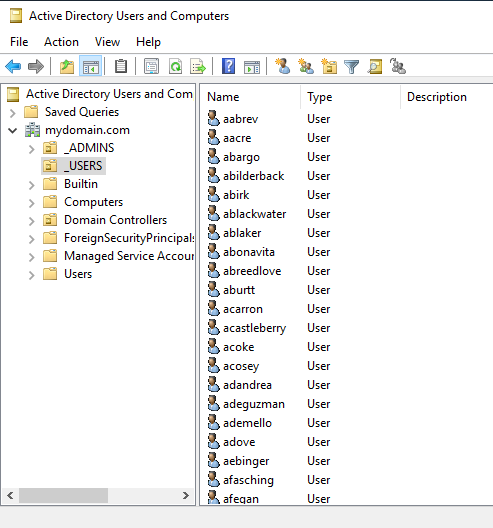
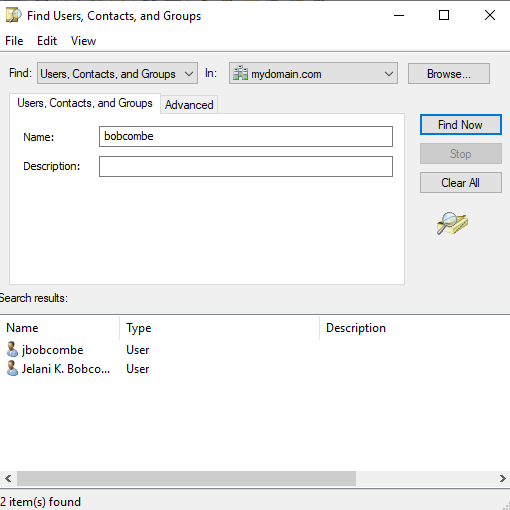
You should be able to find your user. If you search your last name you should find both
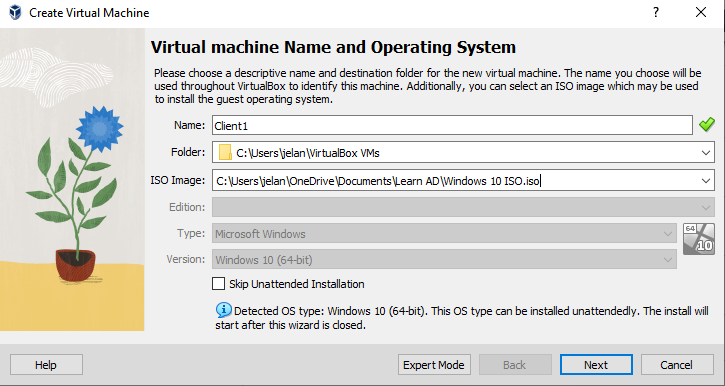
Now that we have users created and our entire environment, almost everything is setup. The very last thing is to create a Windows 10 VM. Go to virtual box and create a new VM
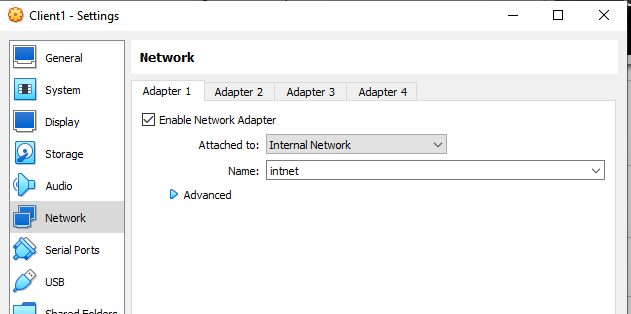
Repeat by going to settings, enabling bidirectional. For network, instead of using NAT, use Internal Network so we can get a DHCP address to emulate an organization
For Operating system choose Windows 10 Pro so you can join it to a domain.

Go through the prompts > Next > Next > Skip for second keyboard layout
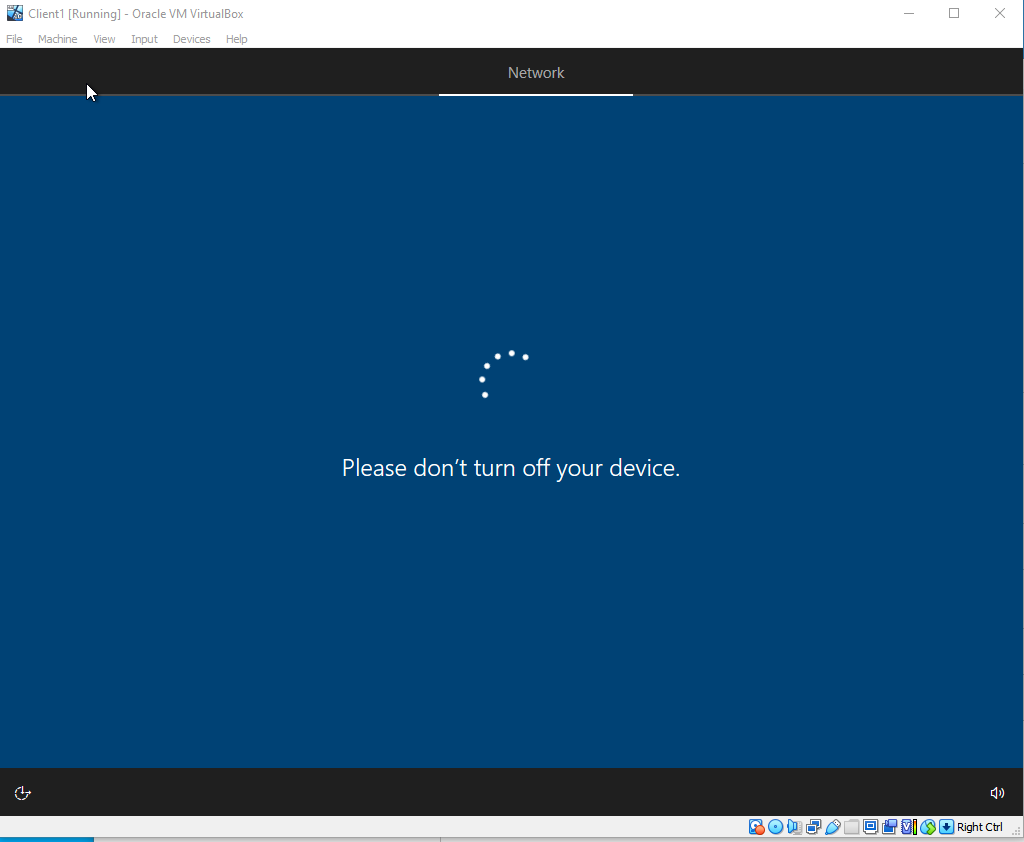
Install with a limited set up to avoid making a Microsoft account.
Local username will be User and no password. Turn all custom experiences off. First thing to do is make sure internet is working.


Because we can ping oogle.com we can confirm that internet is being NATed through the DC and to the internet and back

We can also pingmydomain.com.
Go to Windows >System > Scroll all the way down to Rename this PC advanced
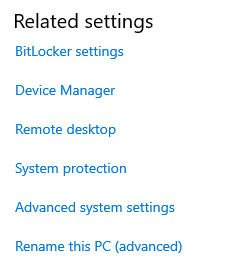
This is so we can join the domain at the same time. Click Change and name it to client1
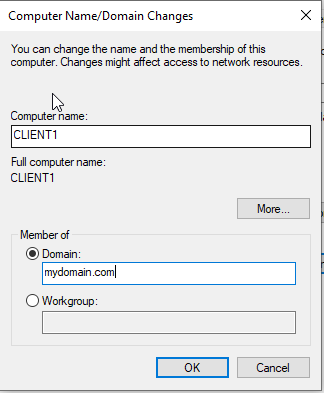
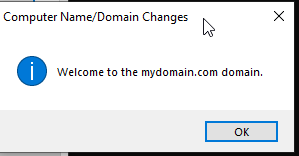
Use the admin password from earlier to log in and join this client to the domain
Another way to see this visually is to go to your DC, go to Tools > DHCP > Scope> Address Leases to see that the IP has been leased.

Next you can log into a created user from the script.
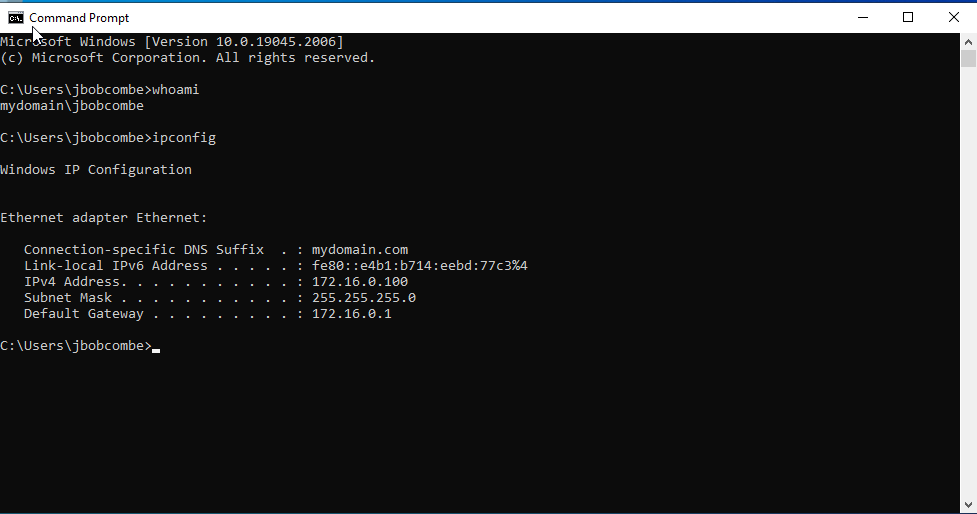
This concludes setting up an Active Directory Domain. I plan on continually adapting this to have different vulnerabilities to emulate a penetration test attack in the future.
